How to create an itinerary on a mobile phone
There are many ways to create a snowmobile itinerary.
Main way
From the RIDES tab
1. Go to the Itineraries section;
2. Press CREATE ITINERARY;
3. Move on the map to select the location where you want to start your ride, then press START HERE. You can also search for a POI in the database by clicking the search icon;
4. Press + STEP and move on the map or search for a POI by clicking the search icon to add a waypoint. You can select a waypoint either on or off trails by tapping the icon at the bottom left of the screen;
5. Once you have selected a waypoint, press ADD TO ITINERARY;
6. Repeat the previous steps as much time as you want to cover all your points. You can rearrange your waypoints by dragging them into the order of your choice. The route will adjust automatically;
7. Once finished, press SAVE;
8. From the Ride Summary, you can:
- Rename your ride ;
- Start your ride immediately ;
- Edit your ride ;
- Invite friends and groups to your ride ;
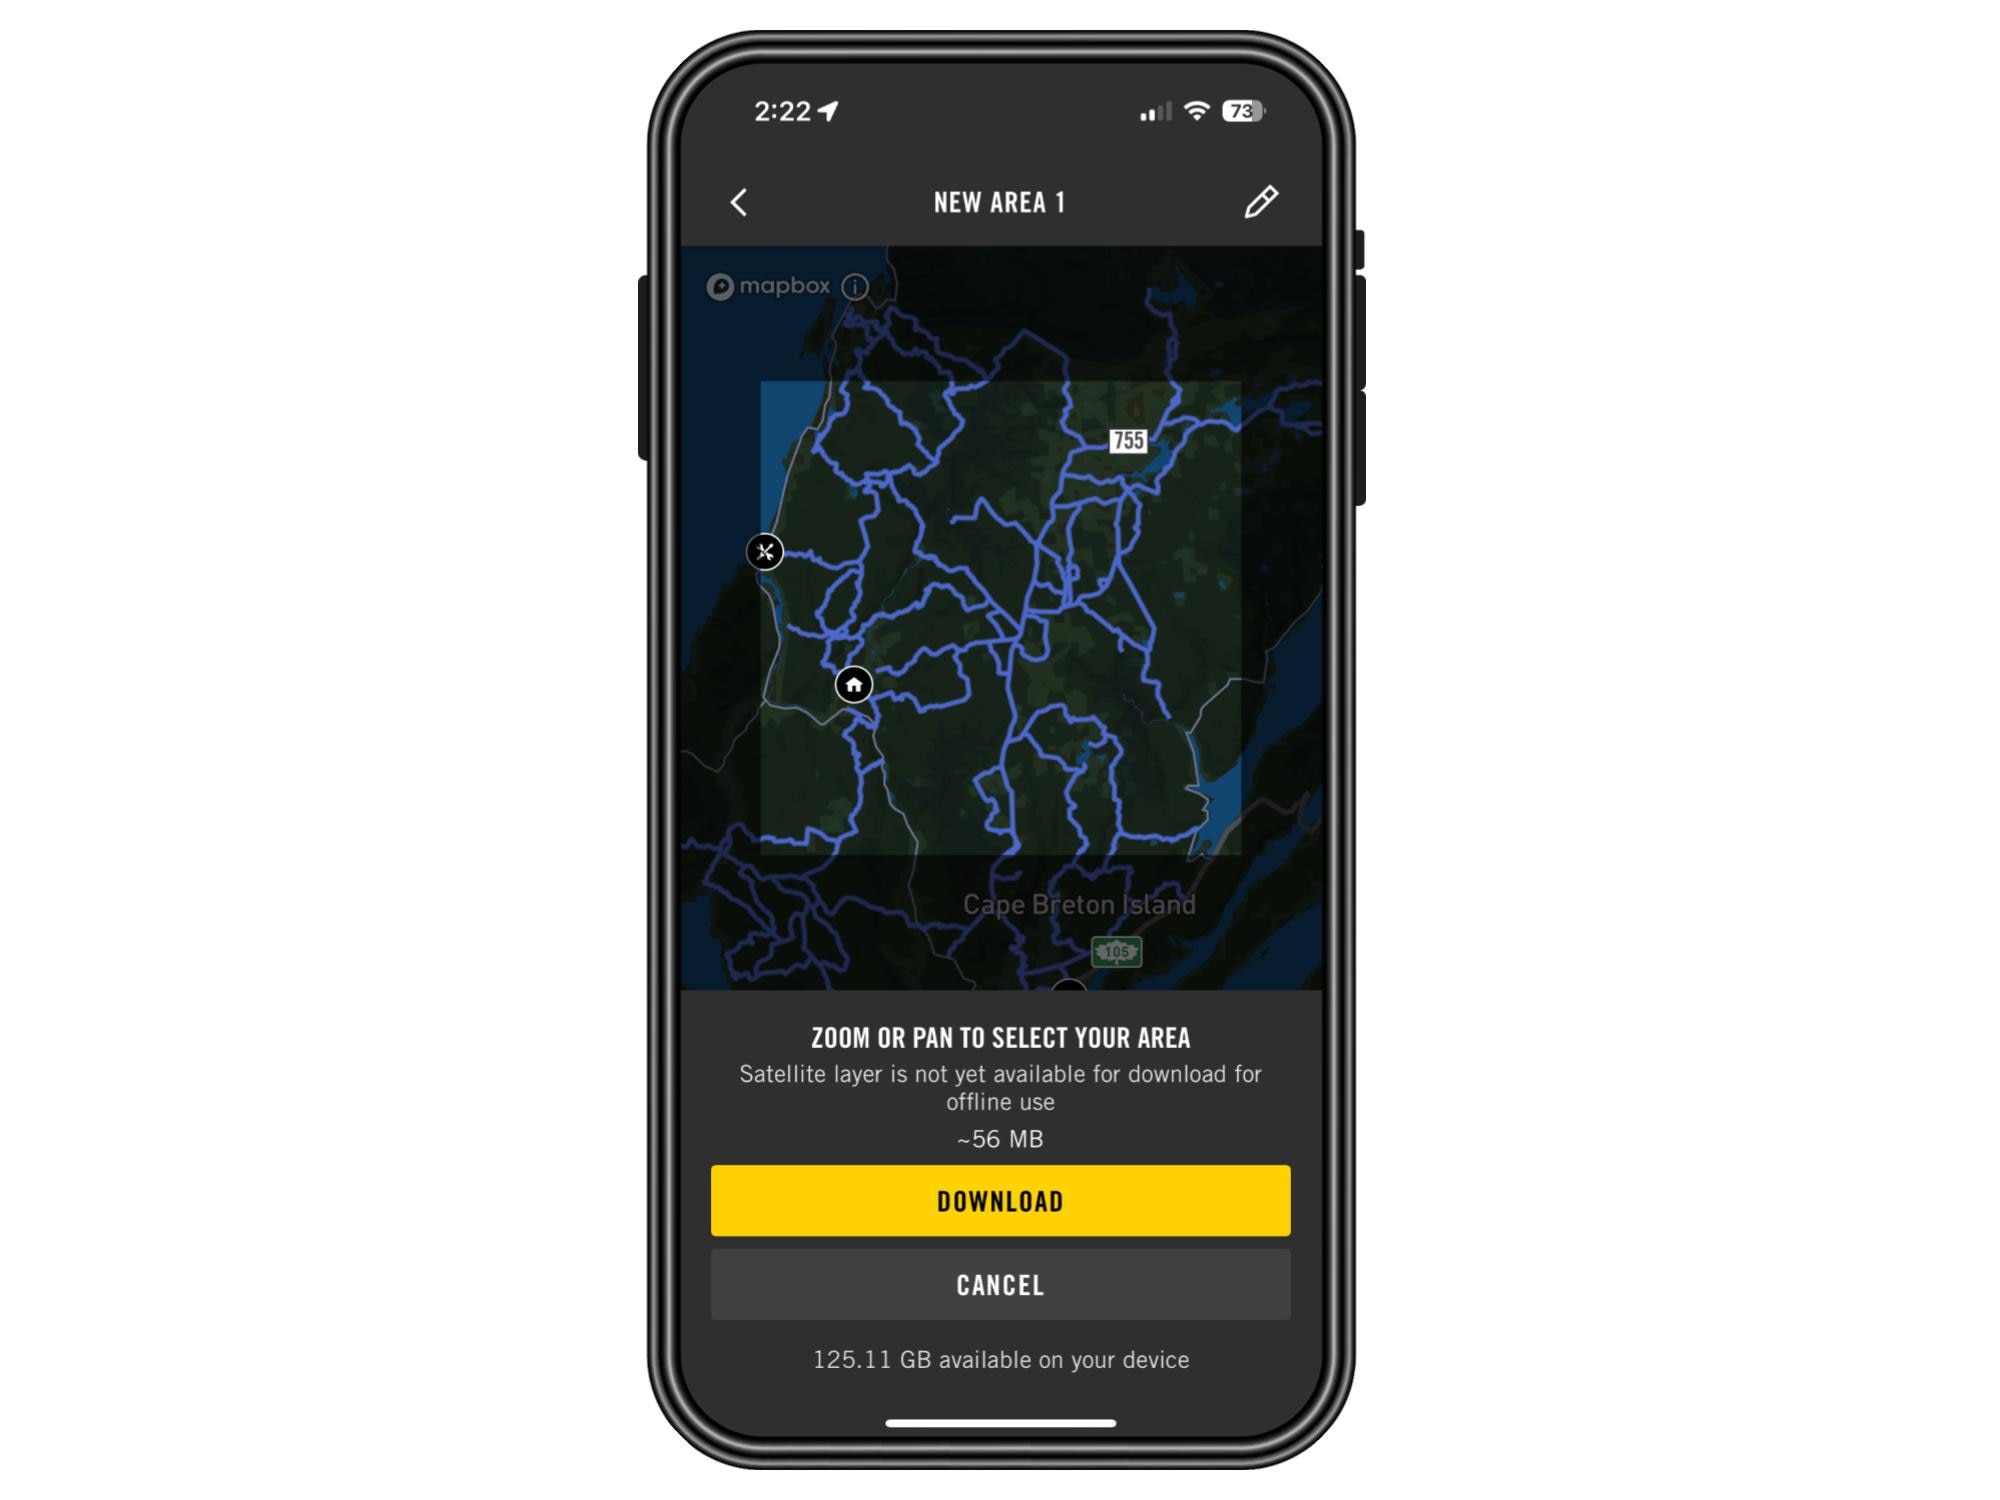
- Download the area of your ride for offline usage ;
- Delete your ride ;
- Use the back button to start the ride later (your ride will be saved in the Itineraries section from the RIDES tab).
Alternative ways
From the map
1. Move the map around to select the location where you want to start your ride. You can also select a POI or create a custom pin location (long press on the screen);
2. You can either click SET AS A STARTING POINT or TAKE ME THERE;
3. You can change the starting point (default Current Position) and add other waypoints;
4. Once finished, press SAVE;
5. From the Ride Summary, you can:
- Rename your ride;
- Start your ride immediately;
- Edit your ride;
- Invite friends to your ride;
- Download the area of your ride for offline usage;
- Delete your ride;
- Use the back button to start the ride later (your ride will appear on the Itineraries tab of the RIDES section).
From the search bar
1. On the MAPS screen, tap on the search bar;
2. Search for your POI and tap on the desired result;
3. You can either click SET AS A STARTING POINT or TAKE ME THERE;
4. Once finished, press SAVE;
5. From the Ride Summary, you can:
- Rename your ride;
- Start your ride immediately;
- Edit your ride;
- Invite friends to your ride;
- Download the area of your ride for offline usage;
- Delete your ride;
- Use the back button to start the ride later (your ride will appear on the Itineraries tab of the RIDES section).